
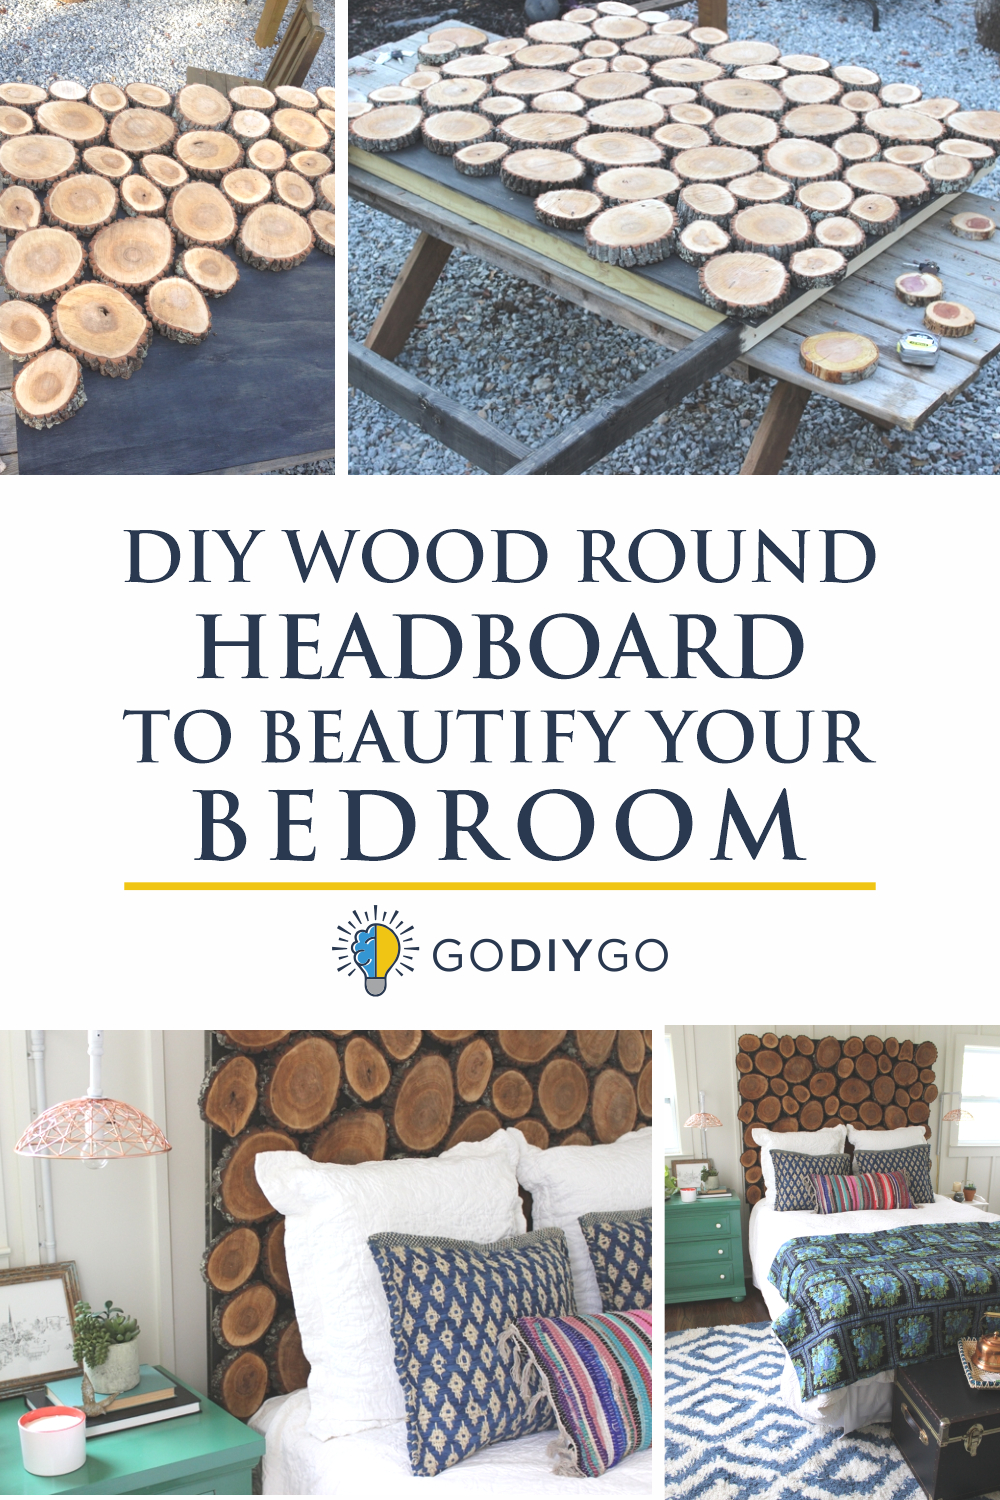
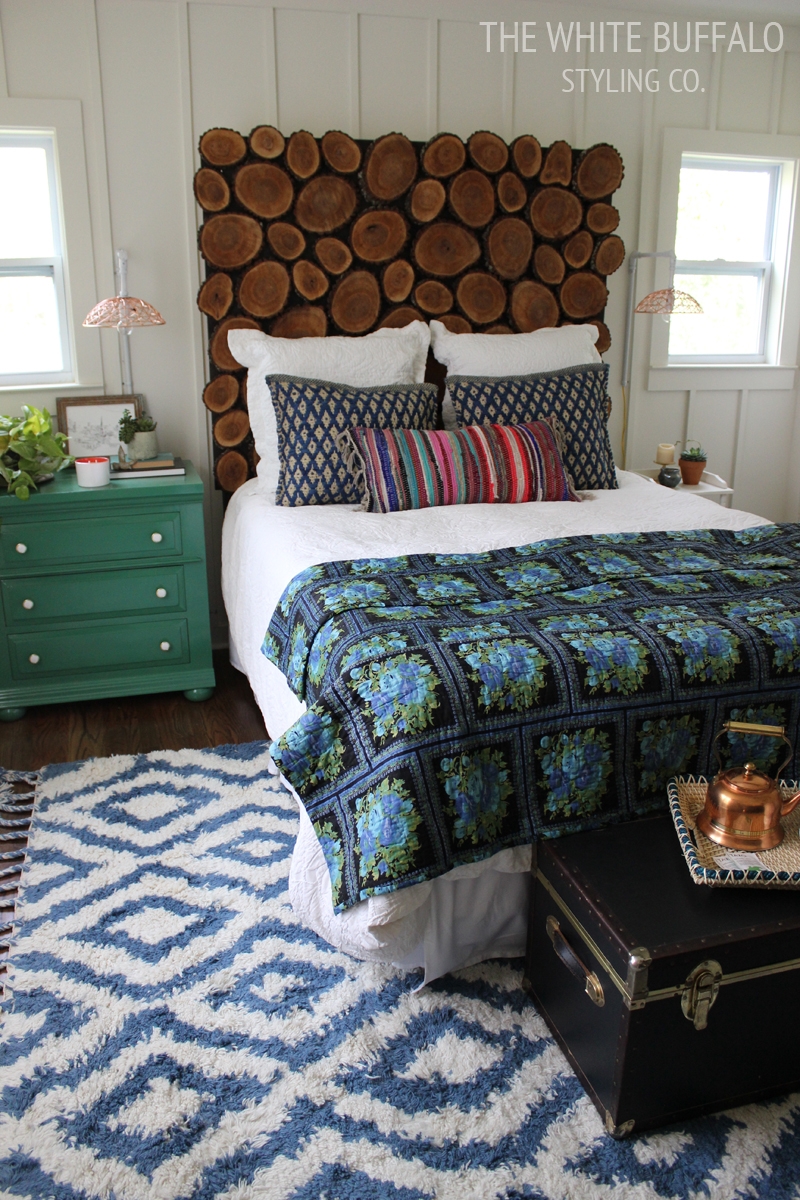
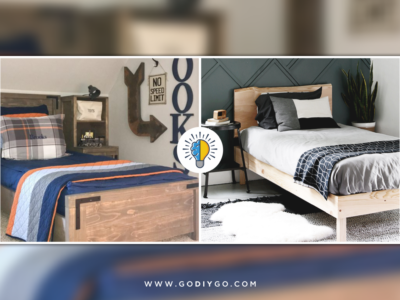
Headboard is a piece of furniture that attached to the head of the bed, and there are so many headboard designs that can be use as long as it looks appropriate for your bedroom. And today, we will present you a step by step ways to make your own wood round headboard.
The materials that you need are:
- Wood rounds
- 4×8’ sheet of plywood
- 4 8 foot 2×4’’s, and
- Clear poly.
STEP 1: Cut Your Plywood to Size

Cut the plywood down to 5 ft. wide (standard queen width) and left the 4 ft. height.
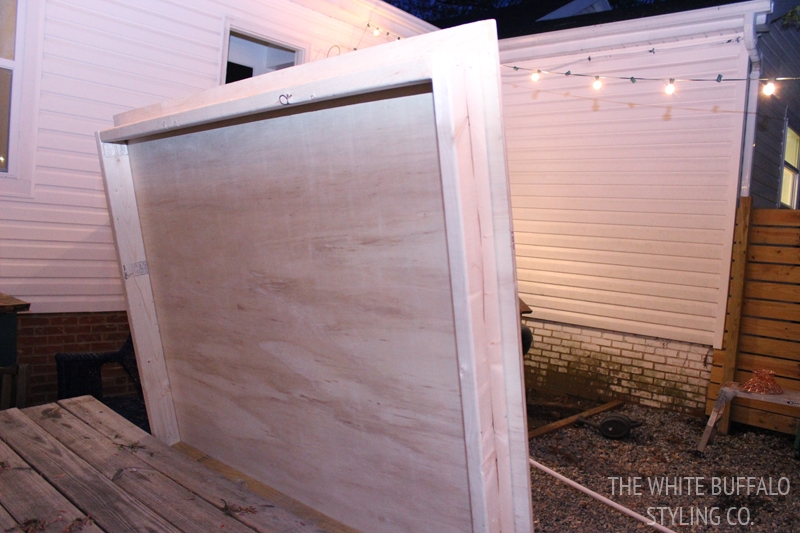
Step 2: Build a Frame
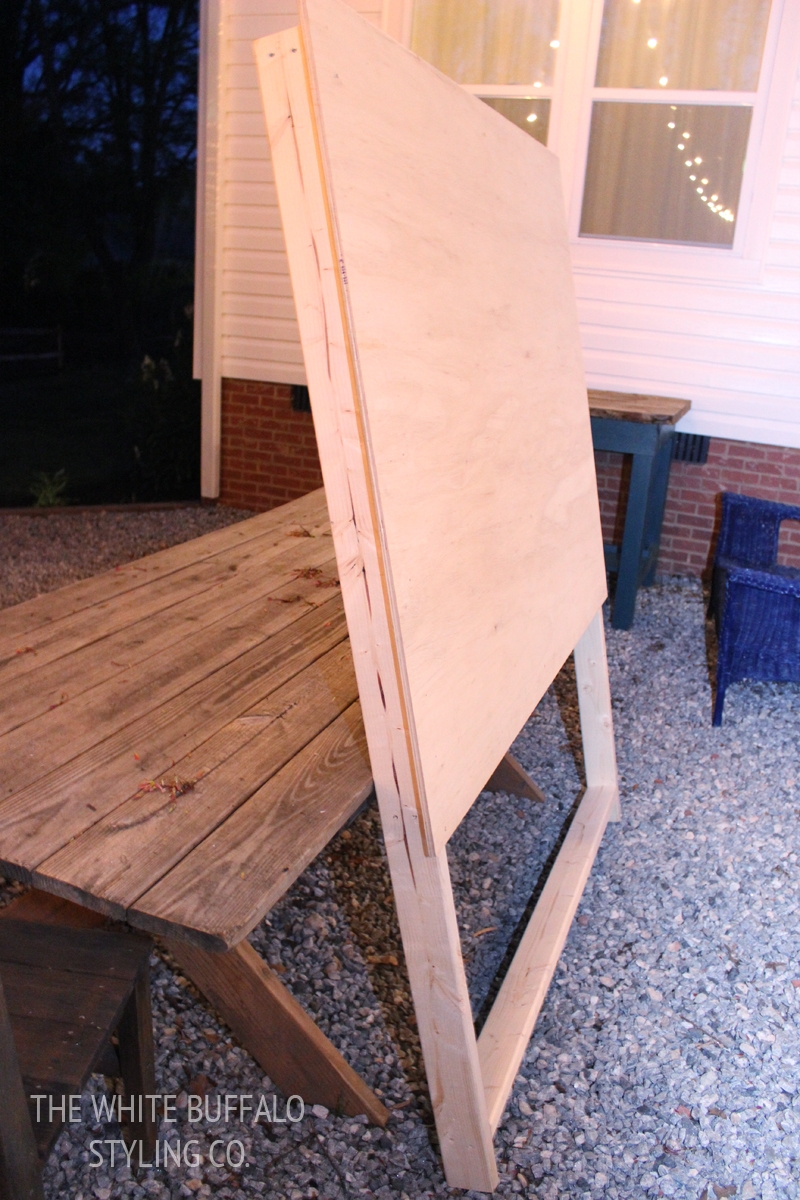
Build a rectangular frame out of 2×4’s for the plywood to attach to. Inset them two inches so that from the most views in the room, you wouldn’t see them.
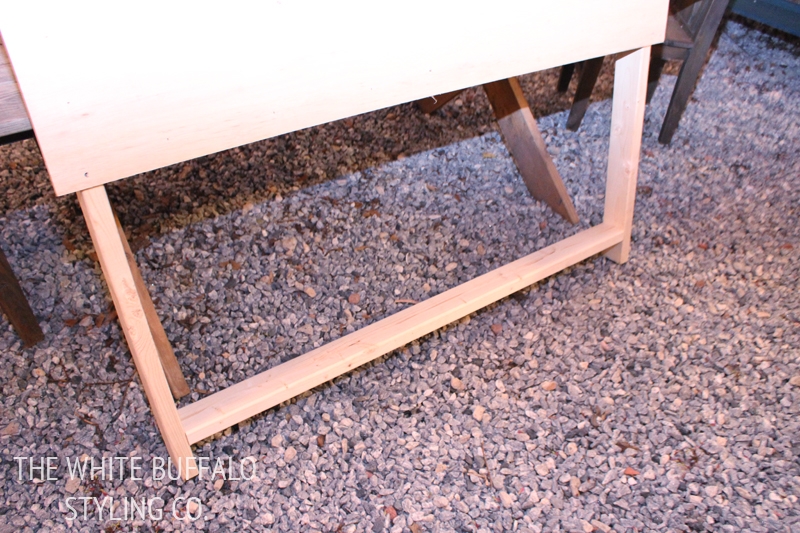
Ran cross piece between the legs at the bottom and the top to provide more stability. The dimensions of the frame will need to be customized for the look you want.
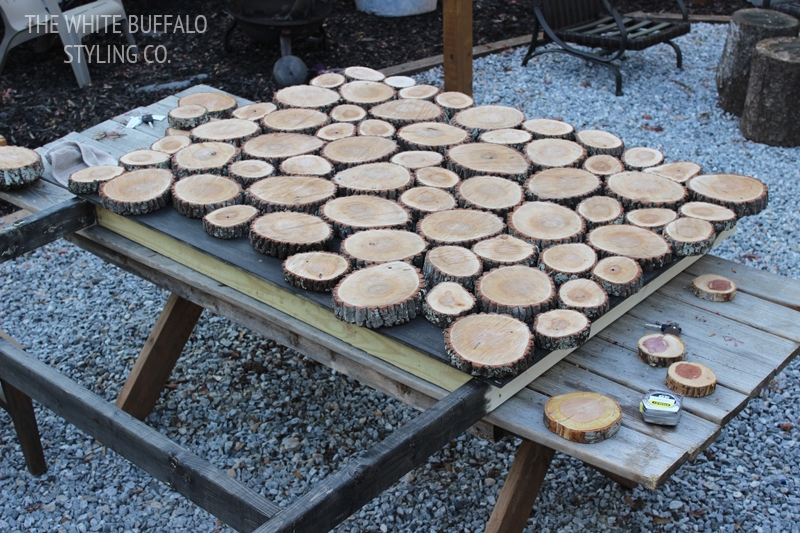
Step 3: Stain Your Wood
after you have your frame built, stain your wood like dark ebony stain like the picture above. Make sure that the background is dark so that anything that shows between the wood rounds will blend in with the dark bark.
Step 4: Prepare Wood Rounds
If you wanted your headboard to look rustic, sand them down.
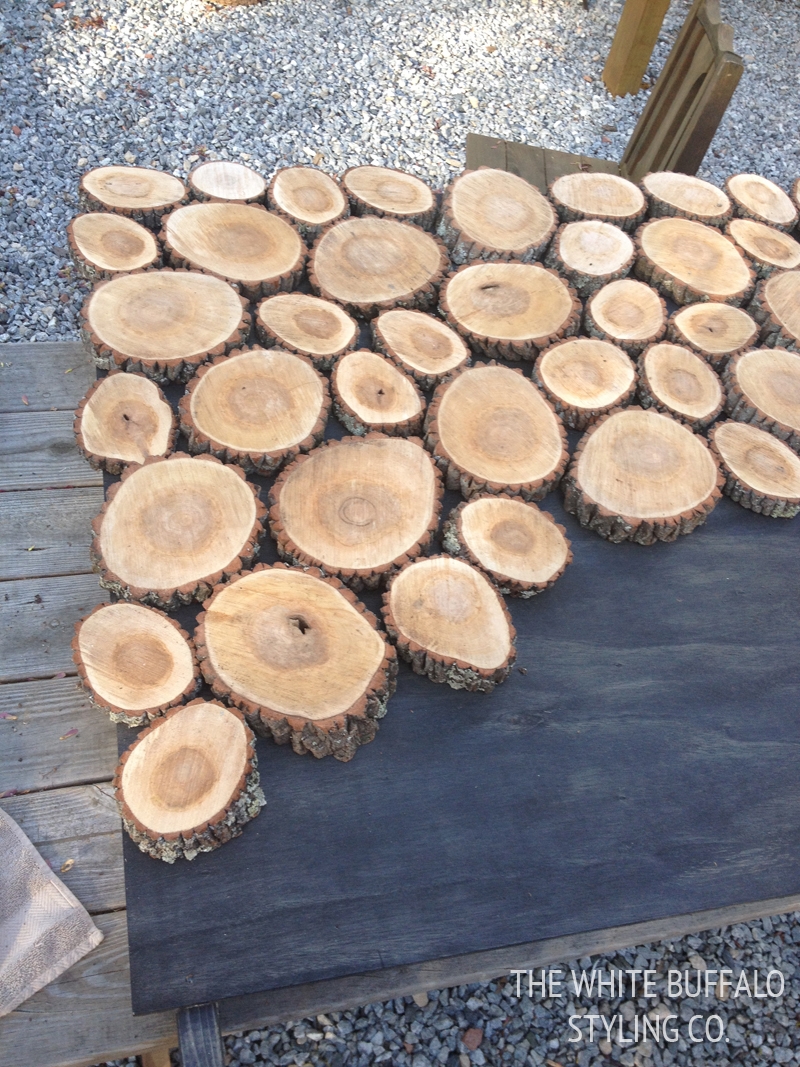
Step 5: Arrange Your Wood-Rounds
Arranging the wood round is the most difficult one, it was a little bit like doing a puzzle and took some re-work.
Step 6: Glue Your Wood Rounds
Once they’re arranged, it’s time to attach them.
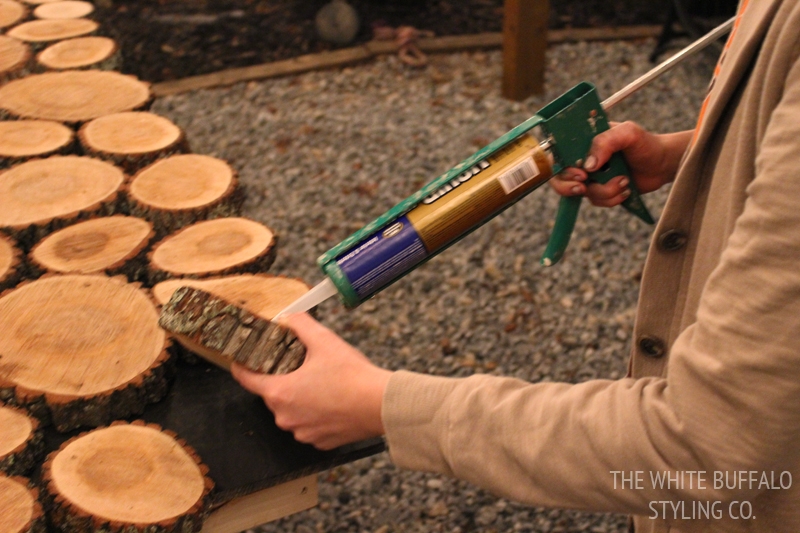
If it’s possible, ask someone to help you to do this step; one for spread the glue and the other pressed it back into place, keeping track of what had been done and etc.
Step 7: Screw the Rounds into the Wood
Screwed the wood in from behind the plywood so that you wouldn’t see the screws and pressed firmly on each round when your friend drilled.
Again, this is a job for two people.
You do need someone to press on the front of the rounds as you screw them, but it also helps to have someone in front keeping track of which ones have been screwed already.
Step 8: Polyurethane your Headboard
This part is totally up to personal preference.
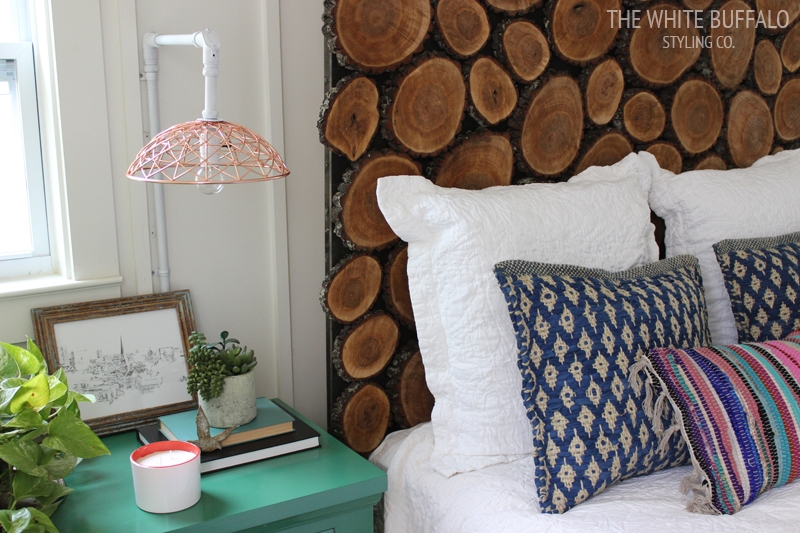
This wood round headboard do add such a rustic texture to your bedroom and it is pop off so well of the white walls.


