
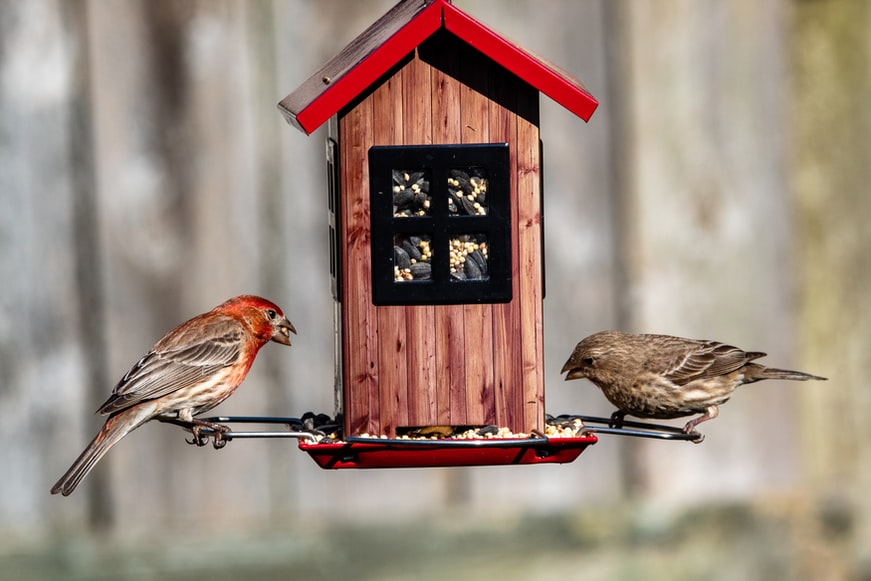
Everybody loves animals, but there are many things that you need to consider when trying to feed them. Thankfully, there are many helpful guides, nowadays, that will help you along the way. You have probably tried before to feed birds with seeds or bread, that is a lovely thing to do, but there is a much more effective way of doing the same thing. Bird feeders are more noticeable by the birds, and they can take food from it much easier, and thus we should look to make it as easy as possible for them. We will give you step-by-step instructions on how to build one so that you can help these creatures out.
Winter presents great difficulty to our avian friends, the food supplies run low and they need some help to survive the harsh winter. Birds need a lot of energy-rich food so that they can maintain fat reserves, which are very much needed when winter and low temperatures come. Thus, a consistent food source is very important for birds. By feeding them you help the environment, also, they are a lovely sight for your eyes and a lovely song for your ears.
What Is Needed
When you have decided that you want to make a bird feeder yourself, you need these ingredients:
- Lard, suet, or solid vegetable fat
- Wild bird food, oats, breadcrumbs, unsalted peanuts (you don’t need all these ingredients, you can make a mixture of what you have available, but first check whether they are allowed to eat it)
- Empty, clean paper cups
- String
You can also find a good solution on https://feedsandseeds.com/blogs/news/how-to-make-a-bird-feeder-in-5-simple-steps, where you can choose what bird feeder suits you better. If you got all these items we can go to the making process.
How to Make It
The first thing you need to do is to mix all your dry ingredients together in a bowl. A ratio of 2 dry parts and one fat part should do the trick. Then, you need to melt the lard in a saucepan and add it to your mixture and stir until everything is well mixed. If your children are helping you to make it, supervise them and do the heating of the lard yourself.
Once your ingredients are well mixed, leave them to cool off for a little while you are preparing your cups. By allowing the mixture to cool, you are avoiding leakage and it is easier to handle when it is cooled.
Next, you need to cut the string to be 40 cm long. Use a pencil to poke a hole at the bottom of every cup and then put the string through. You should leave around 10 cm outside the cup and 20 cm inside it. Make a double knot in the string at the outside base of the cup.
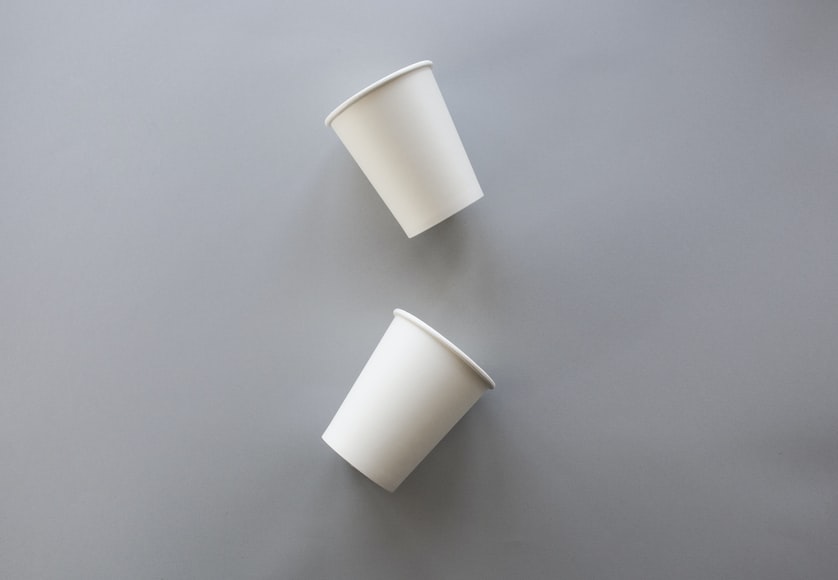
Fill the cup with your food mixture. Make sure that everything is packed tightly. Try keeping the string in the middle. Now take your bird feeders to the freezer and let them be in for some time (10 hours is enough).
When the mixture is set, you need to cut the cup, and you are left with the solid mixture. The mixture should be quite greasy so your hand could get quite sticky. Use the string that is at the bottom of the feeder to hang it on a tree.
You mustn’t put your bird feeder near places where cats are. Now you can enjoy watching all the birds that will come visit your backyard.
How Much Do They Last
The answer to this question depends on the number of birds that are coming to your garden. Usually, it takes a few days for a bird feeder to be completely gone, and they are eaten much quicker than store-bought ones. Once you start regularly making bird feeders, birds will remember that they have food at a certain place, so you will have the same guests each day.
Other Options
You can make birth feeders out of completely eco-friendly materials, such as pumpkins and squash. Just cut a pumpkin in half and put the same ingredients in, birds will love the mixture but also the pumpkin. You can make all these bird feeders in fun shapes so that you can have great fun with your children and make it more interesting for them.
Bird feeders are of great help to our wildlife. They help the birds that are in dire need during winter times when there aren’t many insects to eat. Next to it helping our environment, you will have a great time making them alone or with someone. When you complete one and see the results it will be hard to stop you from making them once more.


