
If you are thinking of using Gnome for your decoration, then don’t buy it yet because in this article we will teach you how to make a DIY gnome with only sock and rice. Cheap right? Now scroll down and take a look at Easy And Cheap DIY Gnome Decoration Using Only Socks And Uncooked Rice That You Need To Try.
Material :
- Cups of Rice (Depending on the size of the sock)
- Different color socks
- Faux Fur or Cotton Balls
- Hairband
- Scissors
- Hot Glue Gun
- Hot Glue Sticks.
How To Do It :
1 First, let’s start to create the body of the gnome. In this part, I think it is better to use an athletic sock, then fill the sock with a few cups of rice. You can use 3 to 4 cups of rice depending on the body size of the gnome.
2 Secure the top of the body using a clear hairband. Cut off the rest of the sock and left only a few centimeters above the hairband.
3 As for the edge of the sock that you cut, you can use hot glue or just sew it to make it look near.
4 After you are done with the Body, then we will move to make the nose. Grab a large part from the front side of the body, then secure it with a clear hairband to create a nose for the gnome.
5 Next, grab some contrasting colored sock that we will use as a cloth or dress for the gnome.
In this DIY, the creator used a grey fuzzy sock. But if you have another color that you want to use, then feel free to do so.
So cut the grey fuzzy sock right below the knee, then slid the body into the sock until right below the nose.
6 As for the beard, you can cut faux fur into a triangle shape with the top of the edge slightly rounded to make it blend perfectly with the nose.
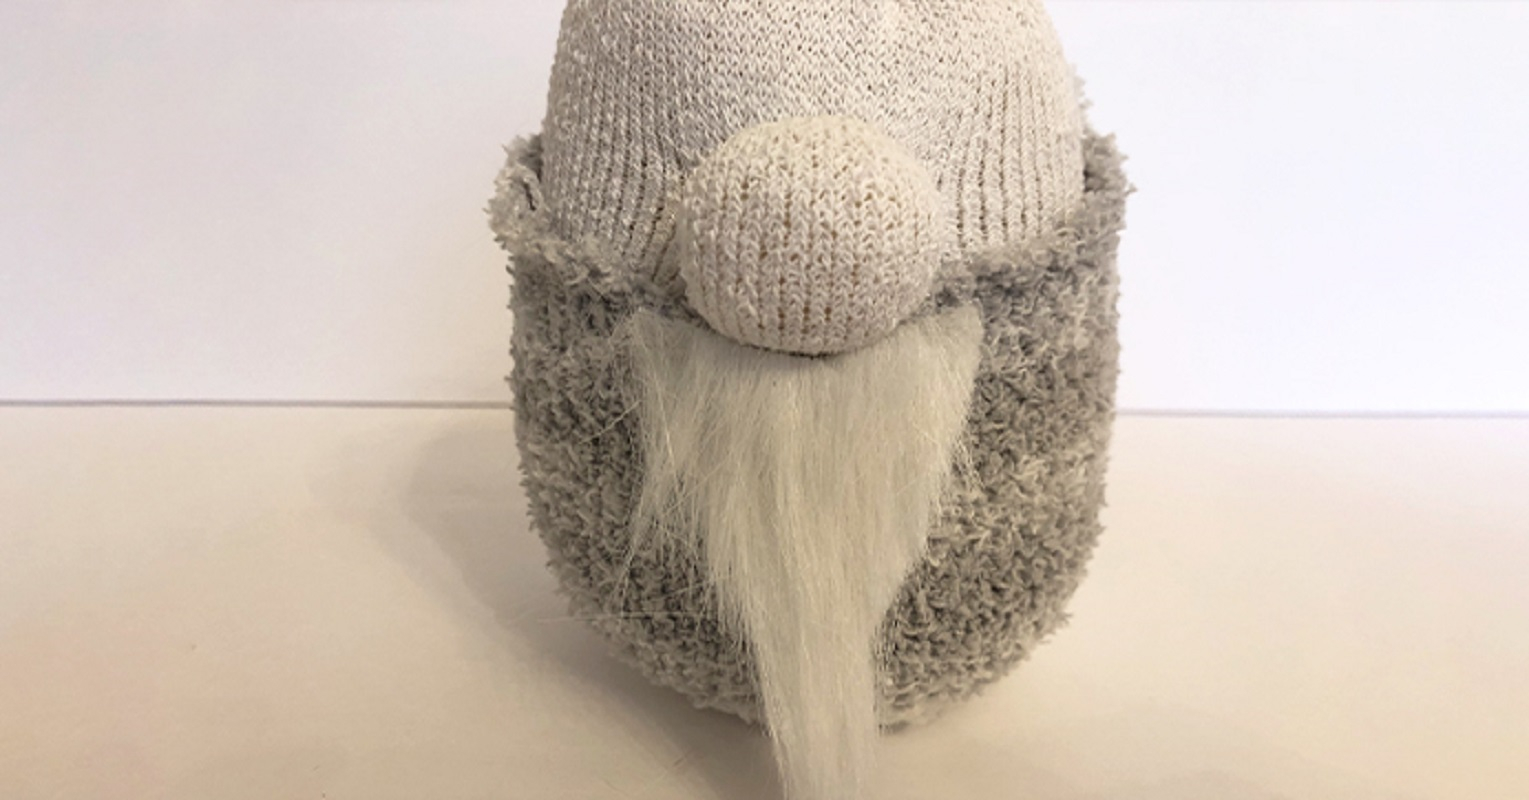
7 And for the last step, you can add a small hat for at the top of the gnome body and you finally are done with your DIY Gnome.


