
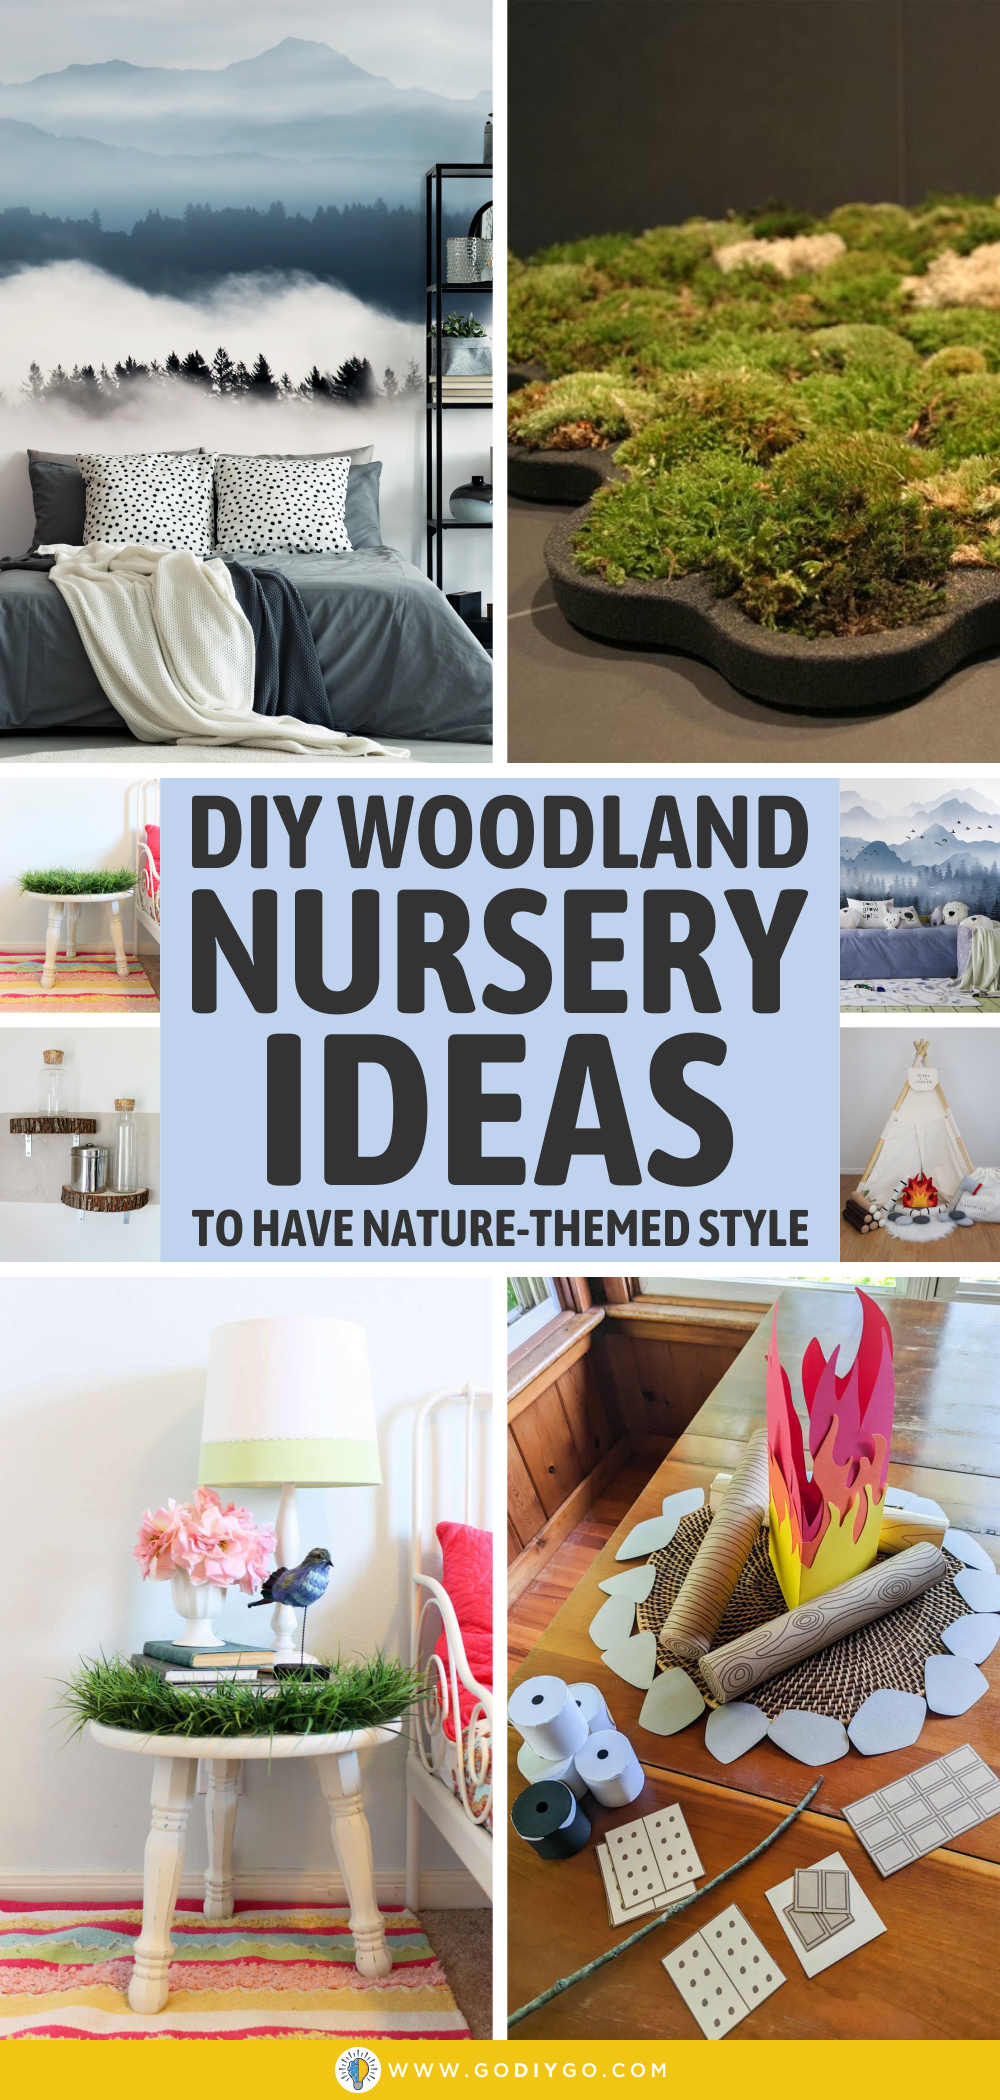
If you are dreaming of a nature-themed nursery room design, you are highly suggested to read all the ideas below to create the extra-gorgeous nature nursery ideas. All ideas are rounded up in DIY Woodland Nursery Ideas To Have Nature-Themed Style.
Mountain Mural
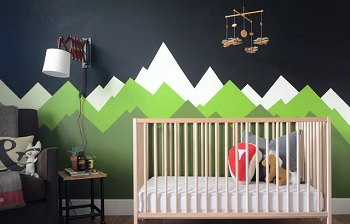
Look at this mountain mural that brings you the most natural feeling in a nursery room. You may sketch the pattern out on graph paper and drew lines on your wall with a large leveled ruler. You will need some paint colors like tricorn black, citrine, overt green, and garden spot. These colors will feature the best mountain feeling and look for your woodland nursery design.
A Mossy Patch
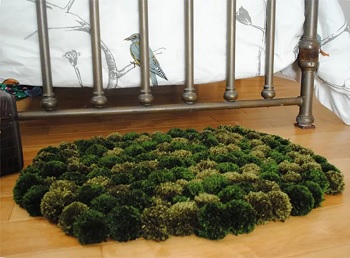
Let your nursery room has more touch of nature by presenting a mossy patch. This mossy and soft rug is made from individual yarn pom-poms in assorted colors and textures. The result is so perfect to sink bare toes in the morning. Besides, it makes you really enjoy the nature surface feeling.
Grassy Nightstand
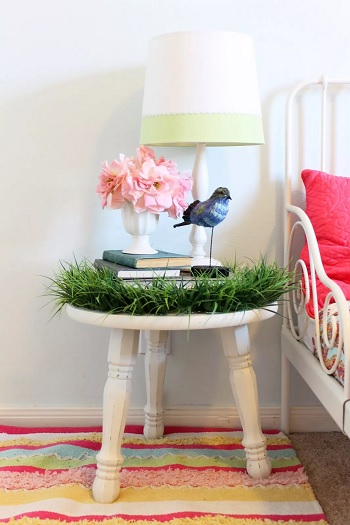
You will see this grassy nightstand is all kinds of adorable. You may start with the round nightstand, plastic grass, and plastic desk pad as the first step to glue the grass on. After that, cut into the shape of the tabletop and glue it on.
DIY Campfire Play Set
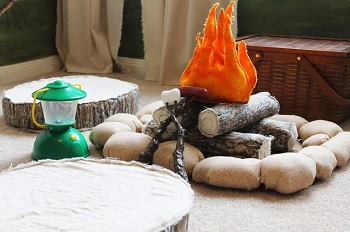
If you present this DIY campfire play set, it will give your nursery room feel cozier. You will need to purchase some plastic camping toys, a canteen, a lantern that makes nature sounds, roasting sticks with marshmallows, and hot dogs to complete the campfire feeling.
Besides, you will need a bark fabric for the logs, an orange-yellow fabric for the flames. A tan or grey for the rocks, and last a brown for the dirt at the base of the fire.
Do not forget to fill each item with cotton to make it alive.
Wood Slice Shelf

You may call this modern industrial wood slice shelves. This will work for all types of interior design more for your nature-themed. Here, you will need 14-inch wood slices, 4 inch L brackets, a saw, drill, and screws. First, s measure where the center of the wood slice it and cut it in half. Second, you will need to put your L brackets on the wood slice. Third, line them up with the back of your shelf and screw them to the wood. Last, screw them into your wall.


