
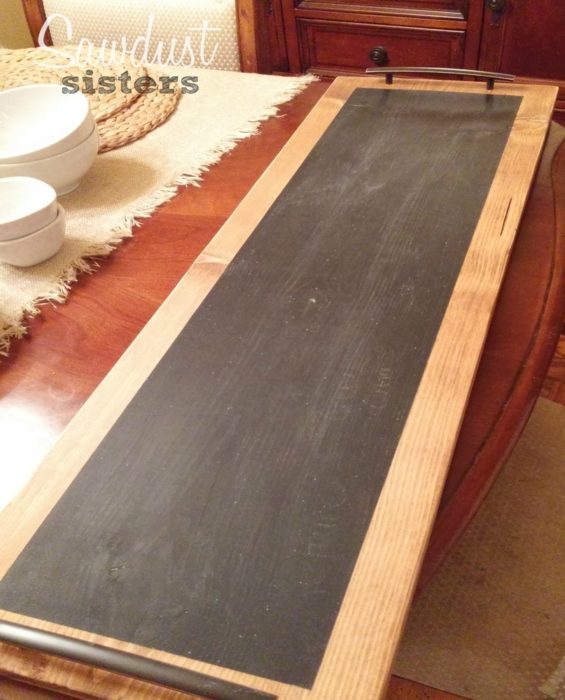
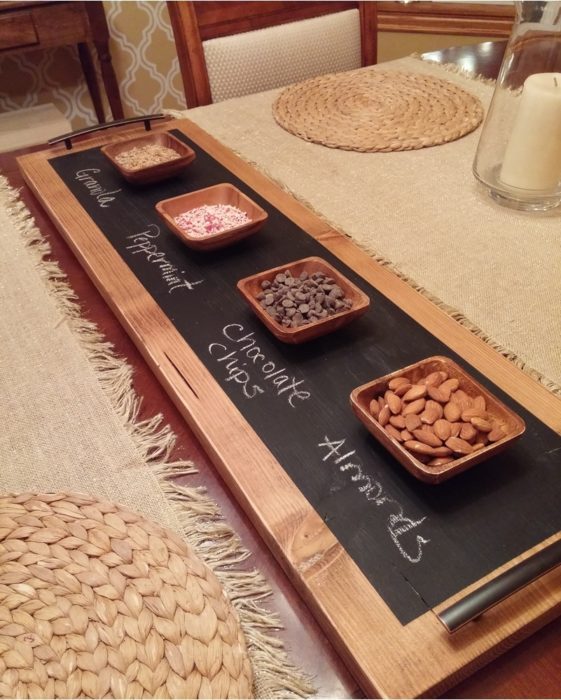
Chalkboard serving tray is a smart idea when you want to serve cheese, biscuits, or other items that you may need to label.
You can make your own because the process is easy and fun. The thing to be aware of is that you should not put food directly into the blackboard paint.
Use small dishes or even wax paper to keep your food safe.
Material:
- Piece of wood cut to desired length. Mine is 3 feet long.
- Wood stain
- Sand paper
- Painters tape
- Chalkboard paint
- Paint brush or roller
- 2 decorative drawer pulls handle
- Drill
- Felt pads
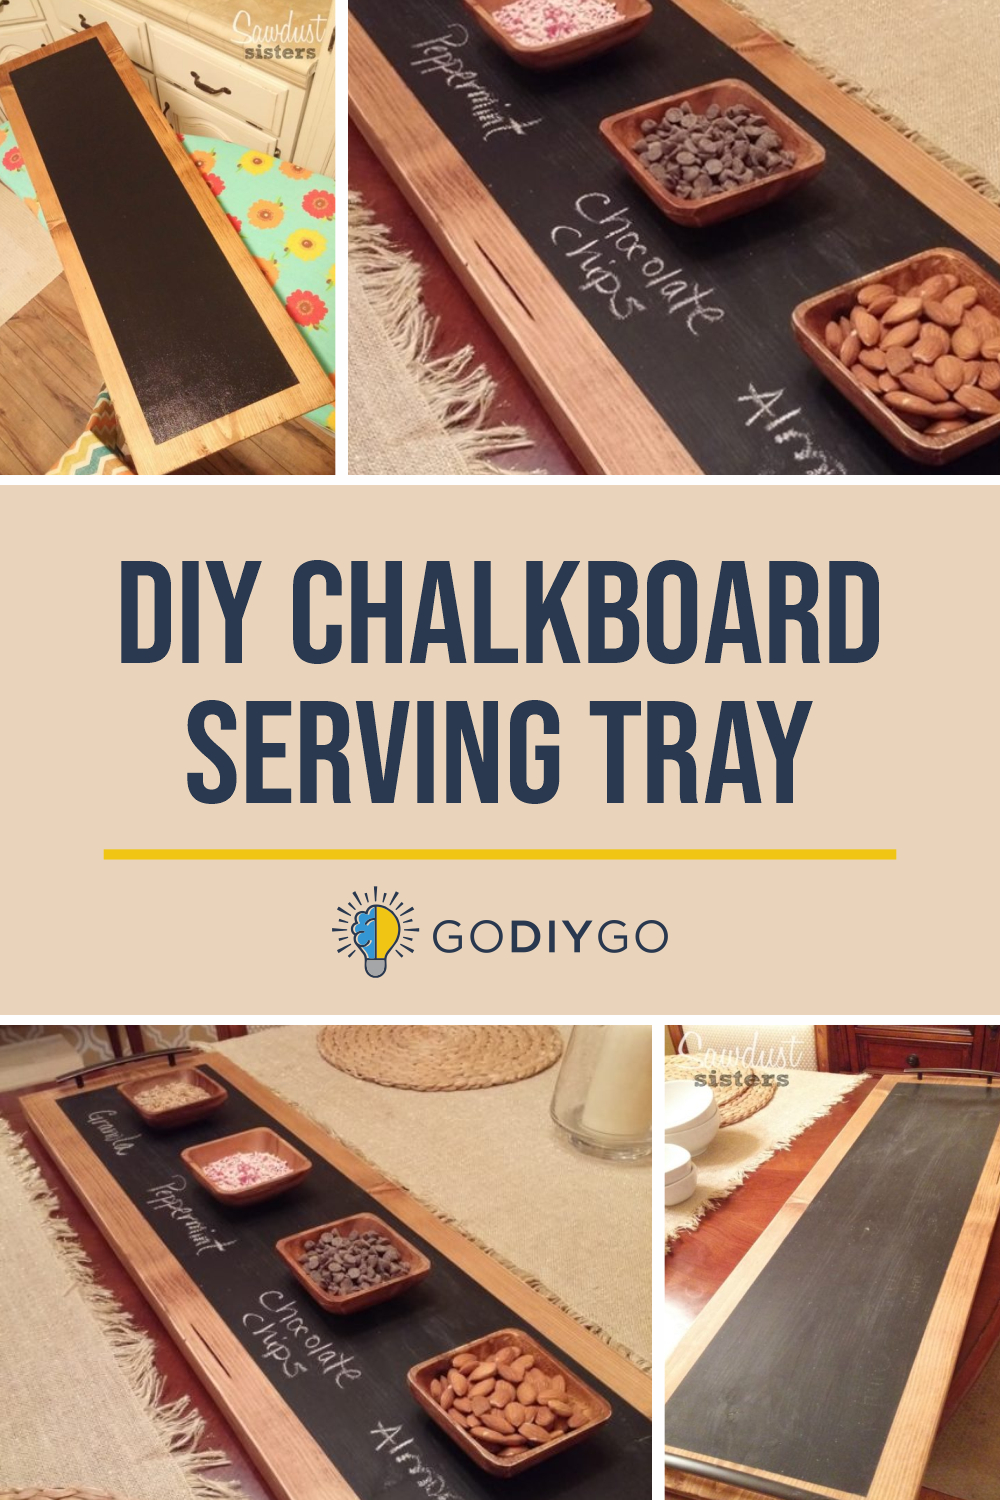
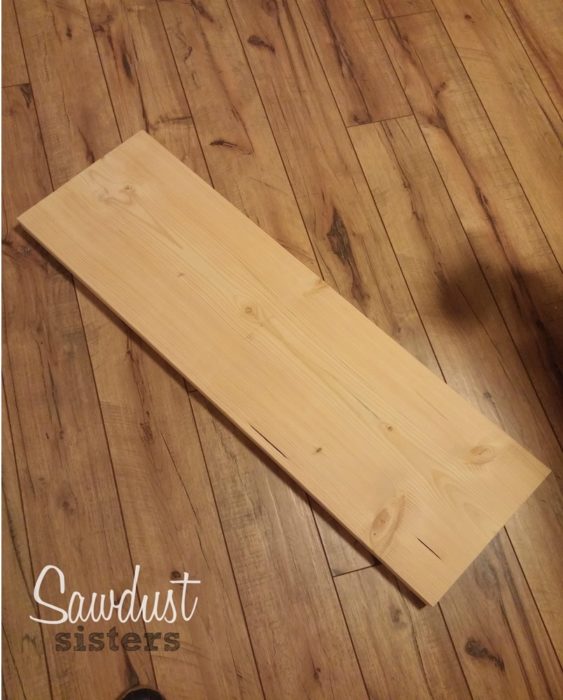
Pick your wood and cut into desired length. Sand it and make sure to get the edges and corners, which are usually a little rough. Here we use one of the 3 feet long pieces and 2 inches thick.
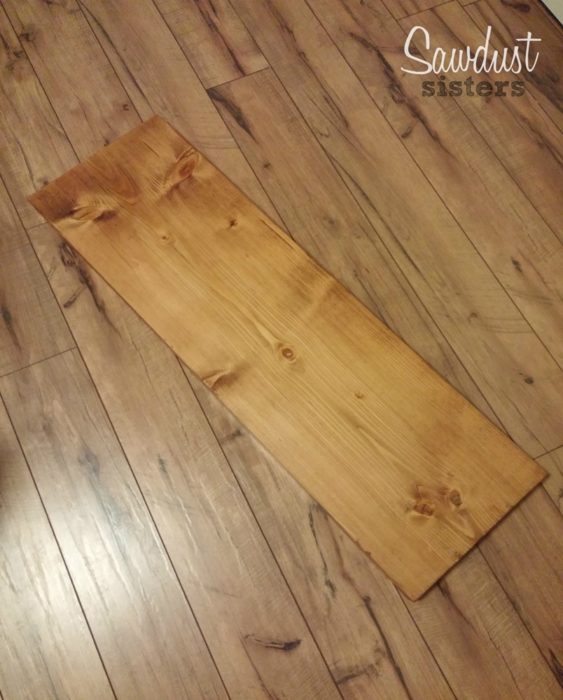
Stain your board. Depending on what stain you use, the color and darkness will vary. Using a brush, rug or paper towel to apply an even coat of wood stain to both sides and to all the edges of the wood. But if you want to to do chalkboard paint for the whole thing, you don’t have to stain it first.
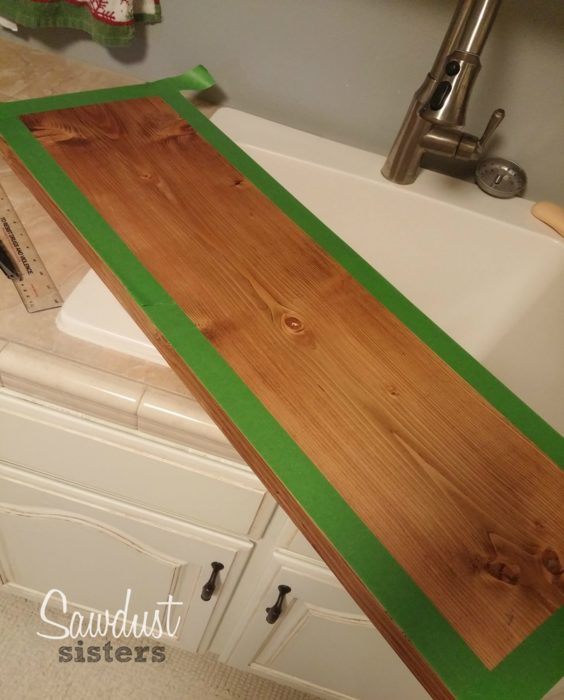
After the stain dry, measure and release where you want your chalkboard to be, using your painter tape. Here, it is taped to the edge of the wood along the way, but you can freely stick it wherever you want. Make sure you press really hard along the tape to prevent bleeding underneath
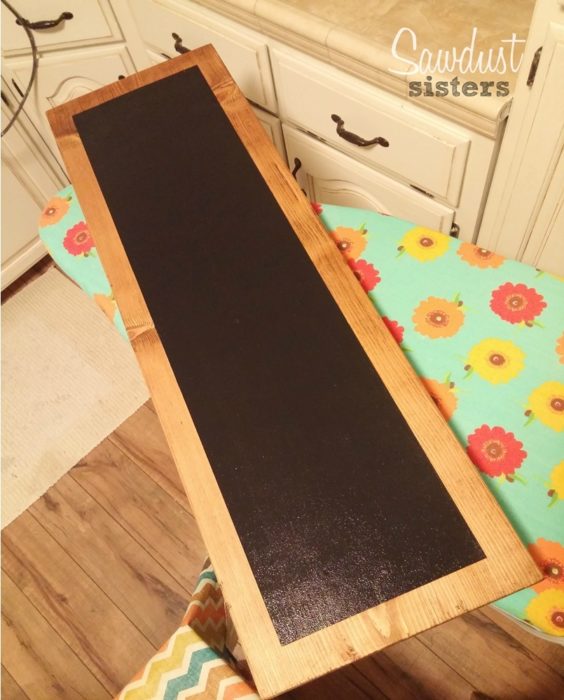
Use paint brush and apply two layers of Chalk Paint. Wait about 10 minutes then sandpaper quickly between each step of the process. You can do a third coat if necessary. If you are a beginner in painting, you can use a foam brush or chalkboard spray paint. Once the paint is dry, gently and slowly pull the tape away vertically from the edge to get a nice, clean border.
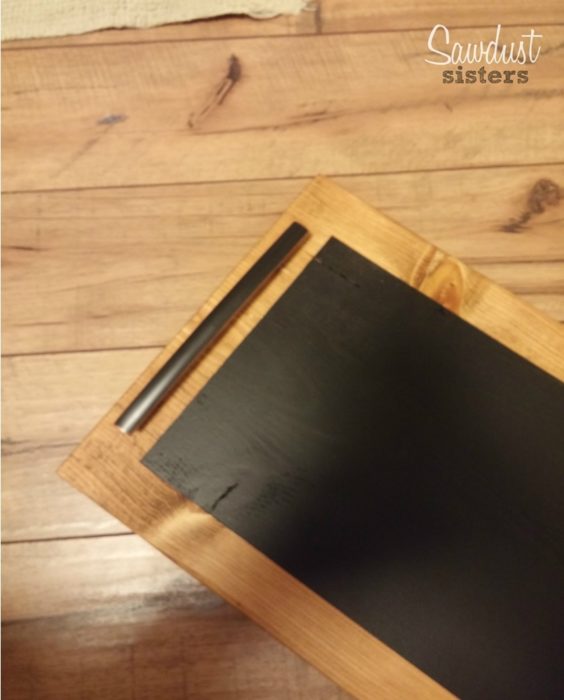
Decide where you want the drawer pulls to sit on the tray and mark the spot where the screws will go, repeat the process on both side. Drill small holes the diameter of the screws and screw the handles tightly on the board, making sure they are well secured.
You can have so much fun with this part, you can use simple rustic pulls, vintage pulls or whatever pulls to fit your taste or give it a different look to your tray.
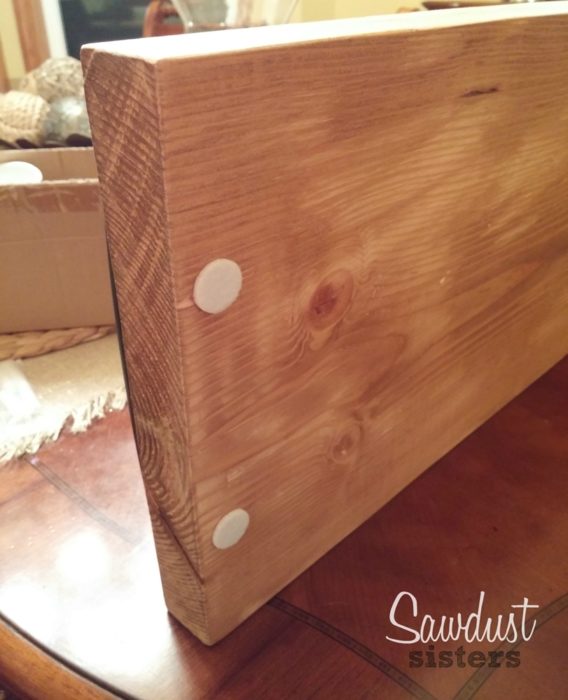
Place the felt pads where the screw head shows. This is intended that the showing parts do not wound you and protect the surface where your tray will sit.
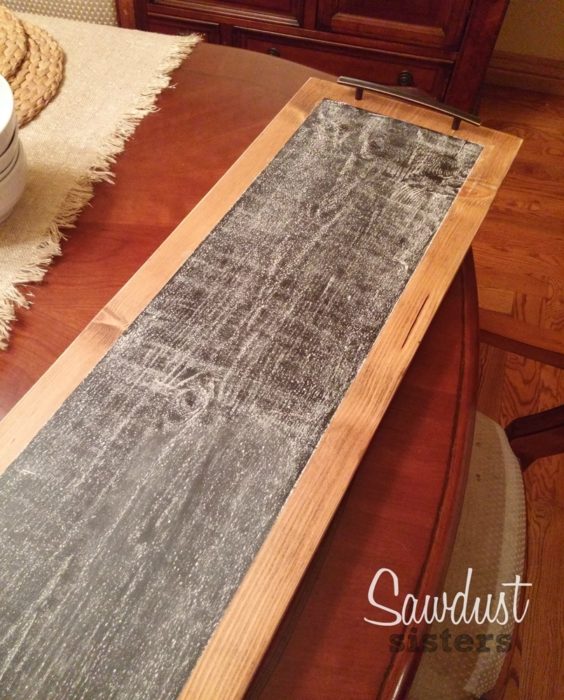
You have to season your chalkboard before write down anything. If you don’t condition the chalkboard, whenever you write something and erase it, it will leave a stain behind. Take a piece of chalk and rub it all over the board.

Then take a kitchen sponge or dry paper towel and wipe it off.
That’s it. You are done. Your the tray is ready for use
Now invite some friends over and have a party to showoff your new creation.


Love it! Your board was 3 feet long but how wide?
Love it! Your board was 3 feet long but how wide?