
Frameless mirrors are a common decorative item, whether it’s in bathrooms, bedrooms, or other living spaces. This is, in part, because they’re less expensive than framed ones. Although they add a nice touch of modernity and minimalism, sometimes, they need more energy and flamboyance. Thankfully, you can create your own frame and decorate your mirrors to suit your surroundings. In this guide, you will learn how to decorate frameless mirrors on a budget. So get your glue gun ready because you will need it!
Decorating with Some Eye-Catchy Plants

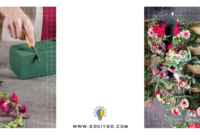
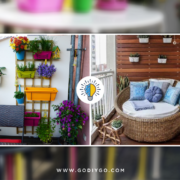
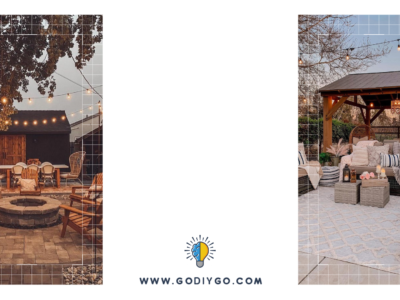
If you want to bring your mirror to life, then a sprig of greenery can do wonders in that regard. This is incredibly budget-friendly and it will turn your mirror from dull to lively and vibrant. For this project, use small hooks or your trustee glue gun to pin flowers and foliage around the mirror.
Get your piece of ivy to drape around the mirror from the top center down to the sides. Moreover, you can also glue a variety of flowers and greenery, from silk blooms to roses. To polish up your mirror, tie some ribbons around the corners and the center.
In addition to that, you can get creative in the way you lay the plants out. This will allow you to create the ‘frame’ you want to display. You can purchase all supplies for this project for less than a few dollars. This mainly depends on the quality and quantity you choose to acquire.
This DIY project is affordable and not all too time-consuming. Moreover, it’s a fun way to create a focal piece in your living space. This is since plants add a touch of character and breathe new life into the surroundings.
Using Homemade Crafts of Papers & Stickers for Kids’ Room Mirror
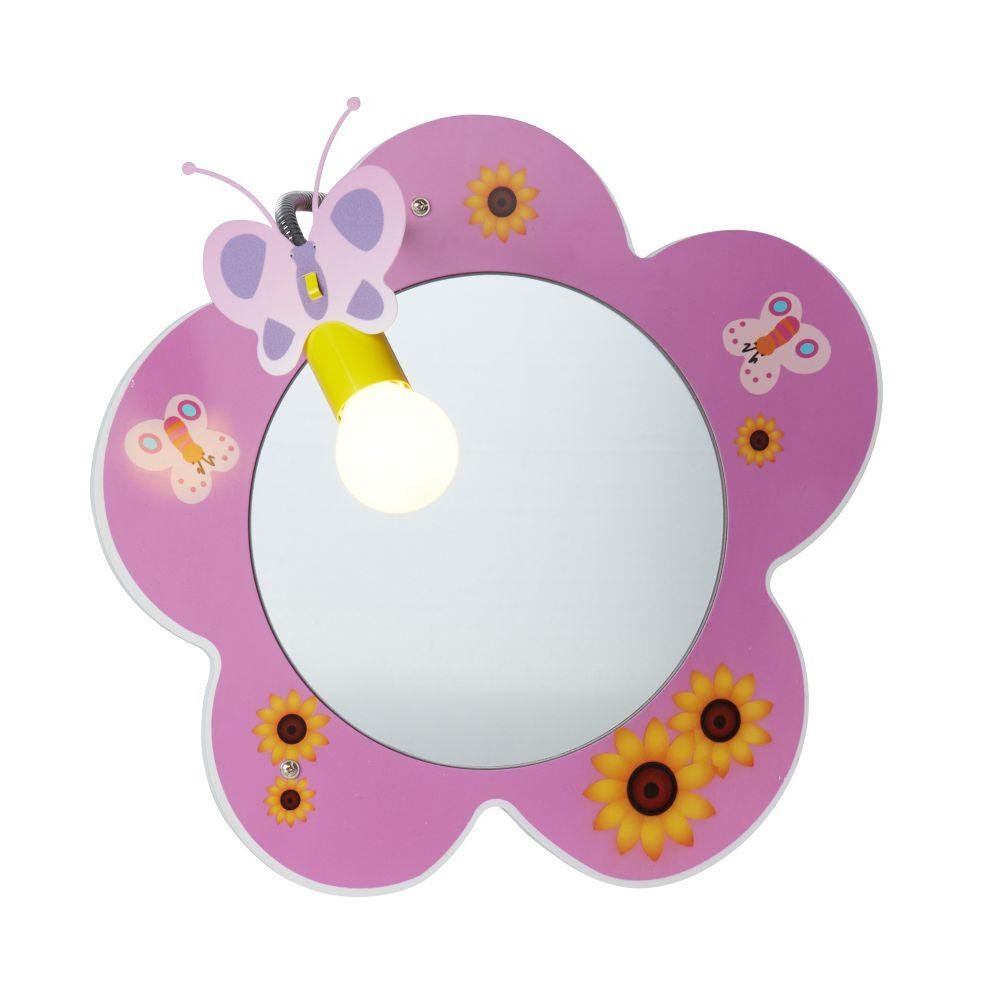 Stickers and craft papers are a great way to personalize round glass mirror. Not only is this DIY project suitable for children but you can also put an elegant twist on it. In addition to that, stickers are very convenient because you can easily scrape them off when you want a change.
For your children’s room, you can use vinyl peel-and-stick adhesives or regular stickers. This is a lovely activity to engage in with everyone in the family. You can even make the shapes more interesting and visually striking by adding some glitter.
Moreover, you can also create a faux frame using a variety of shapes and colors in craft paper. Geometric lines and patterns are very in right now. So you can use vinyl stickers to make crisp lines that wrap around the mirror.
You can always spray paint them in gold, silver, or whatever color scheme is dominant in your living space. In addition to that, you can look up expensive mirrors on Pinterest and DIY for much less. This is a fun way to pass the time. Plus you also get to spend less and create a nice decorative piece.
Using a Wooden Frame with a Beautiful Contrast
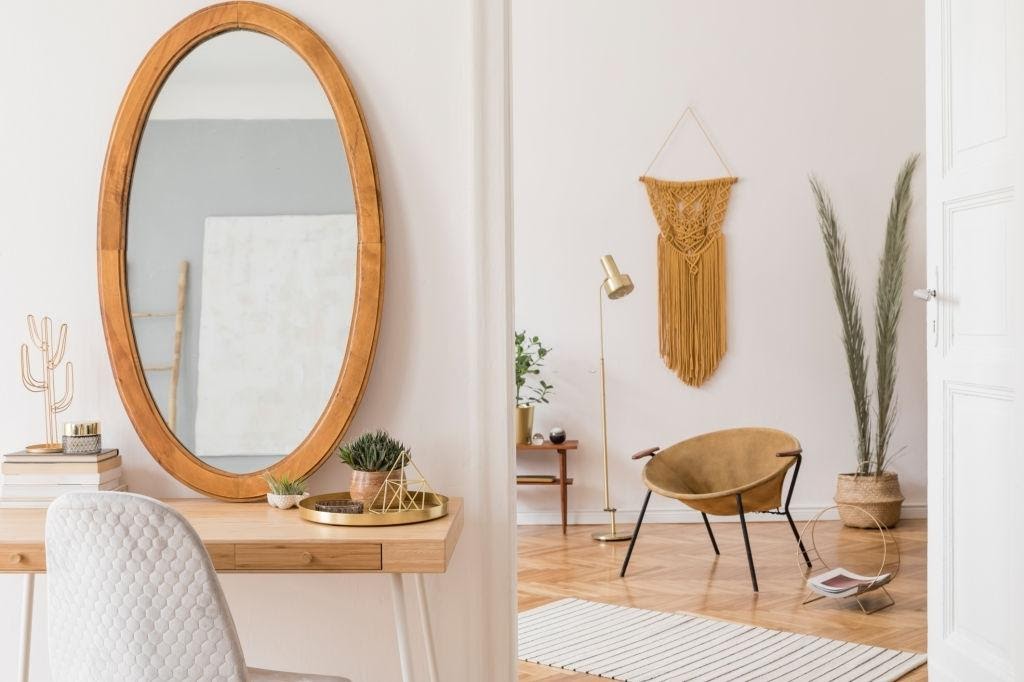
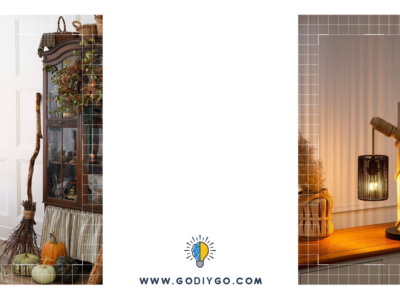
Wooden frames are a classic when it comes to mirrors. They bring a cozy and homey element to the interior. They also add a touch of the traditional in a modern space. Using wood trim or molding, you can transform your frameless mirror in a few steps.
Start by choosing a wood that complements your cabinetry or adds contrast to your walls. Though you can always paint the trim in a more suitable color. You can either glue the wood directly onto the wall, or you can clip it into place using small brackets.
Depending on your decorating style, opt for a simple wood trim to accentuate minimalism or a fancy one for extravagance. Wood molding generally goes for $5 to $12 per linear foot. Different types run with different budgets. So the amount this project will cost varies based on the size of the mirror. Also, the type of molding you get.
Using Sticky Tiles to Create a Focal Piece
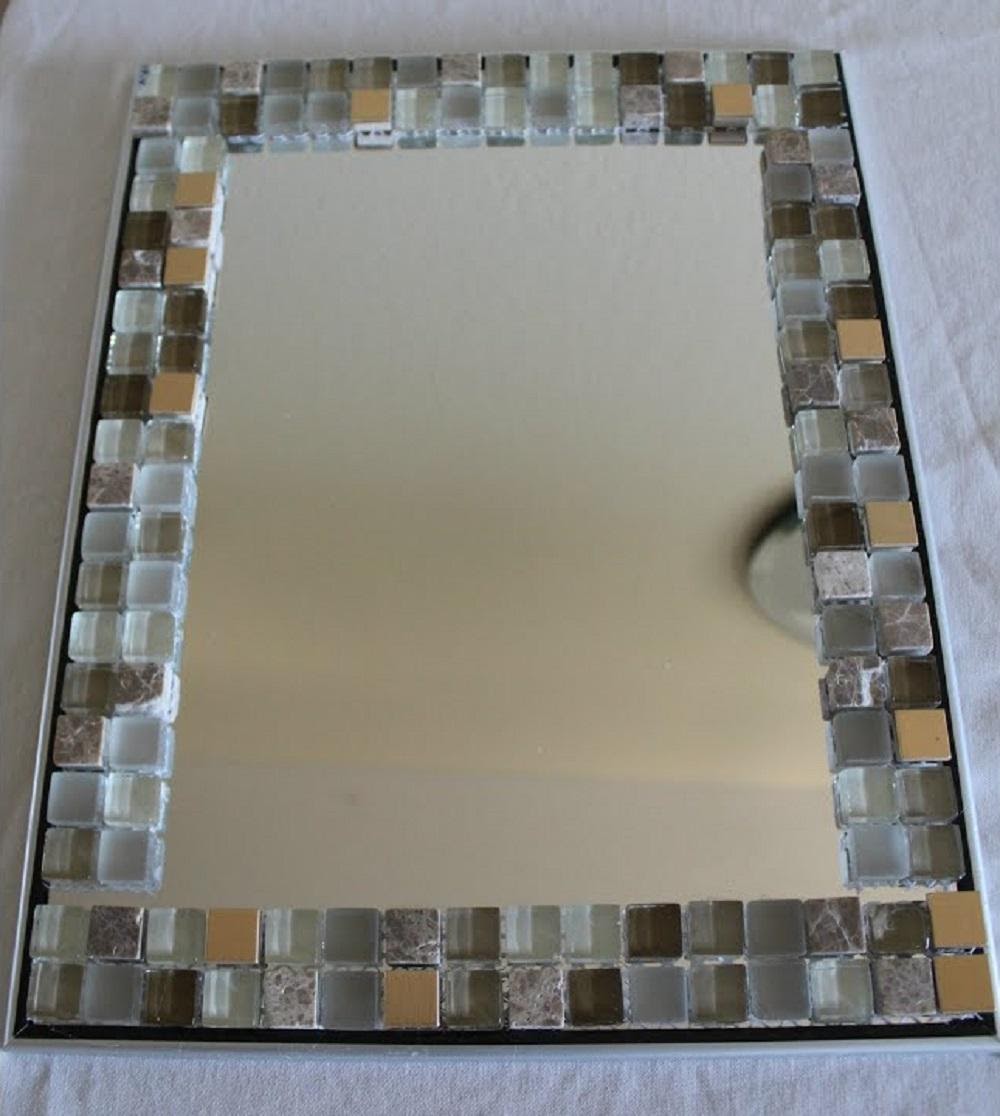
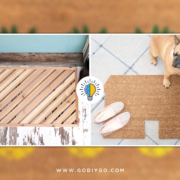
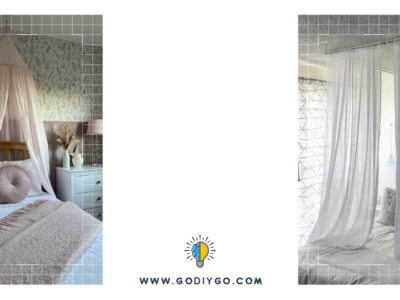
You don’t necessarily need a frame to create borders that encase your mirror. In fact, you can make your own border using vinyl tiles that will frame the background of your mirror. This is a great idea to implement in your bathroom.
Create a striking vignette using tiles that extend from the top of the vanity to the base of the mirror. Since you’re only tiling a part of the wall, this project is very easy on the wallet. It also doesn’t take as much time and the end product looks like a million bucks.
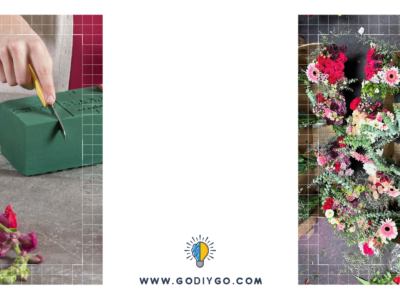
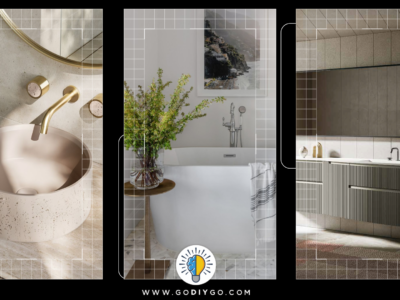
In addition to framing the background, you can also apply tiles directly to the mirror. Start by making a pattern that is reminiscent of the theme of the surroundings. If you’re doing a beach-themed bathroom, then seashells, buttons, sand dollars, and starfish are must-have accessories.
Glue the small tiles and the accessories together to create an astonishing mosaic for a retro finish. You can always get creative with this DIY project and use items you have around the house. This is a great way to recycle old things and to save up on unnecessary expenses.


