
Mirror is important for your home. It can make your space appear bigger and lighter, and it can also become a luxury decoration by framing or decorating your old mirror.
Materials:
- 70-1/2″ length 4 1/2″ wide primed MDF baseboard
- 70-1/2″ length 3 1/2″ wide primed MDF baseboard trimmed down to 1″
- 70-1/2″ length 3 1/2″ wide primed MDF baseboard trimmed down to 1 1/2–”
- 38-1/2″ lengths 3 1/2″ wide primed MDF baseboard (2)
- 63-1/2″ length 3-1/2″ wide primed MDF baseboard
- tape measure
- paneling adhesive
- extra-strength wood glue
- caulk
- level
- latex paint
- latex paint extender
- extra-fine sanding pad
- paint brush
- painter’s tape
- tack cloth
- drop cloth

Measure Mirror and Select Frame Style
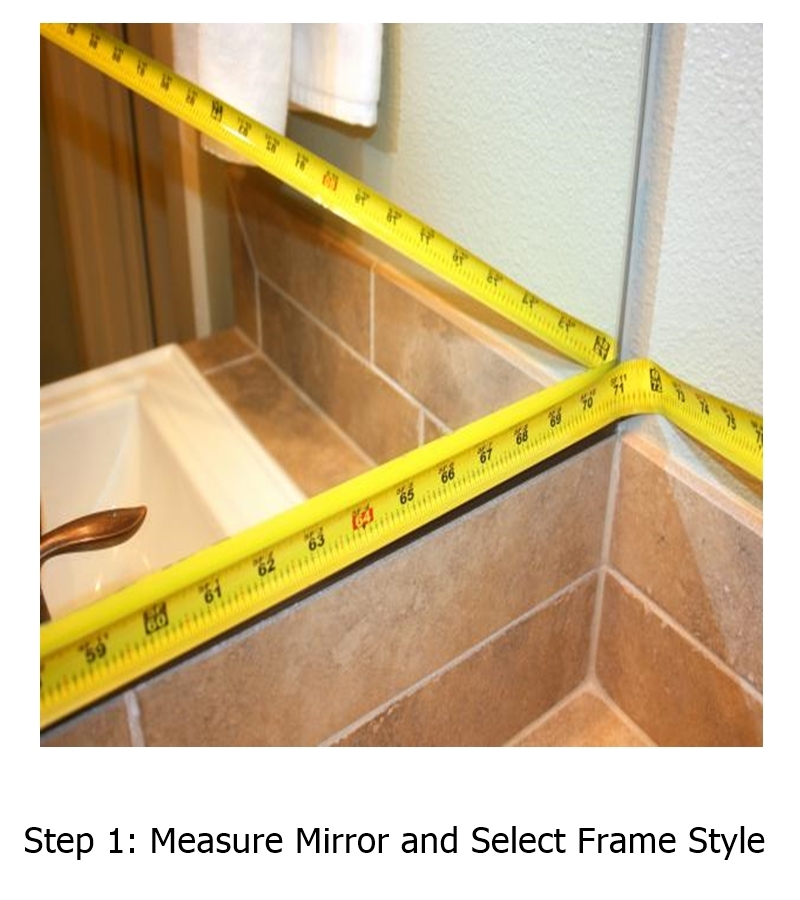
To obtain measurements specific to mirror being framed, determine trim style and positioning of trim around mirror; use measurements to cut lengths of primed MDF baseboard.
TIP: Have materials cut at a home improvement store and consider using style of door casings in home as inspiration for the look of the mirror frame.
Prepare Work Area
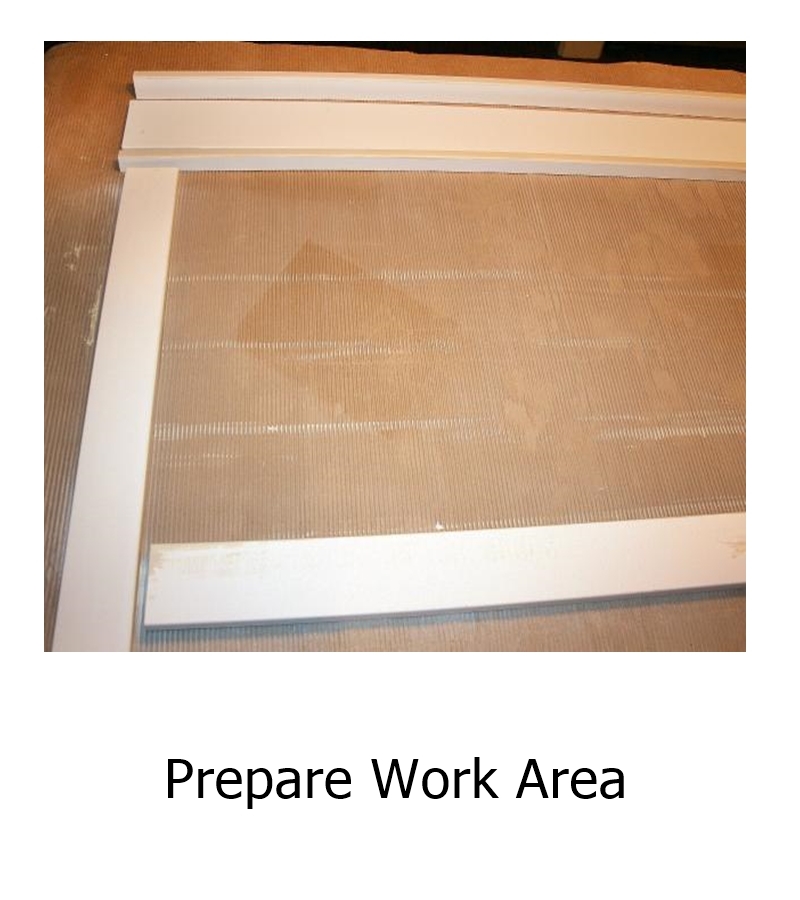
Gather required materials and lay out lengths of trim on flat working surface.
Paint Back Sides

TIP: The back edges will be reflected in mirror.
Paint Trim

Sand

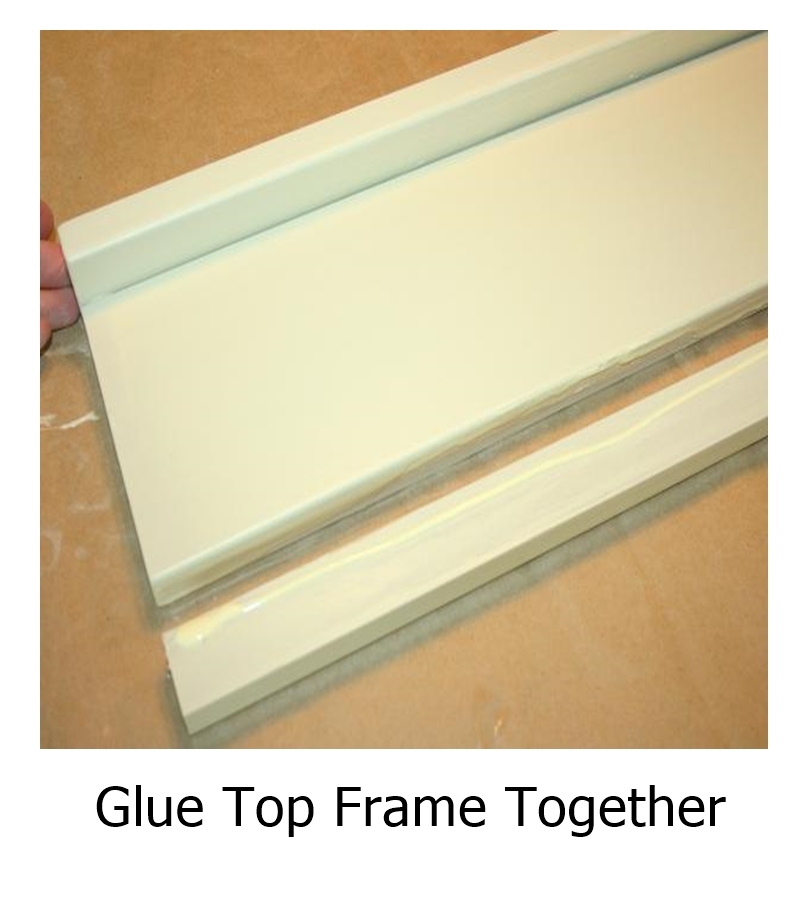
Glue Top Frame Together
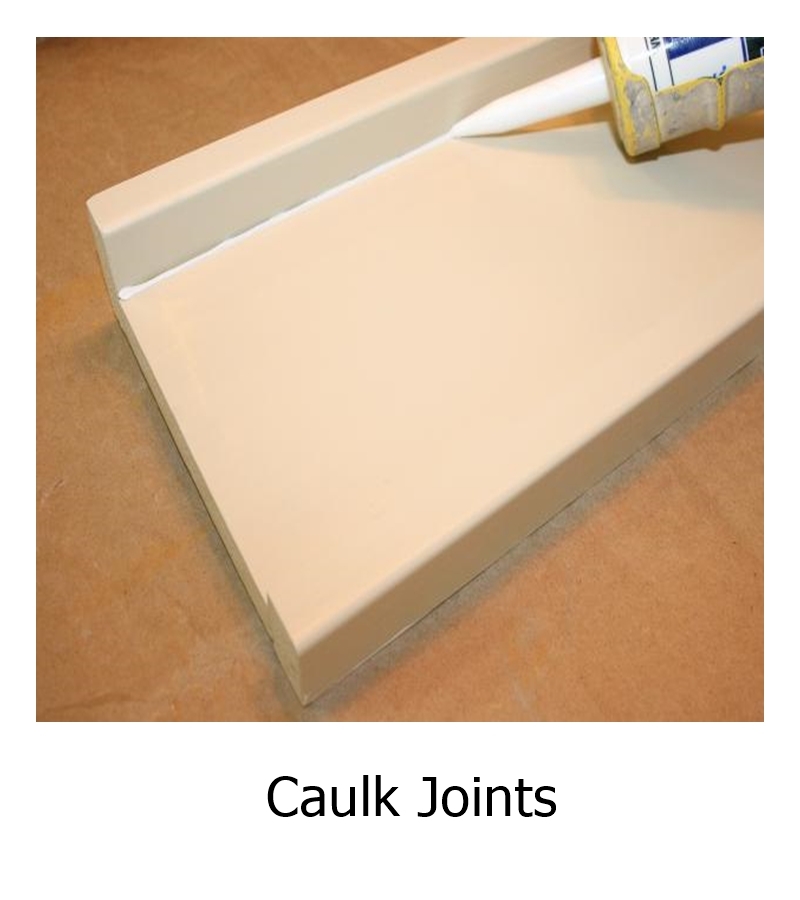
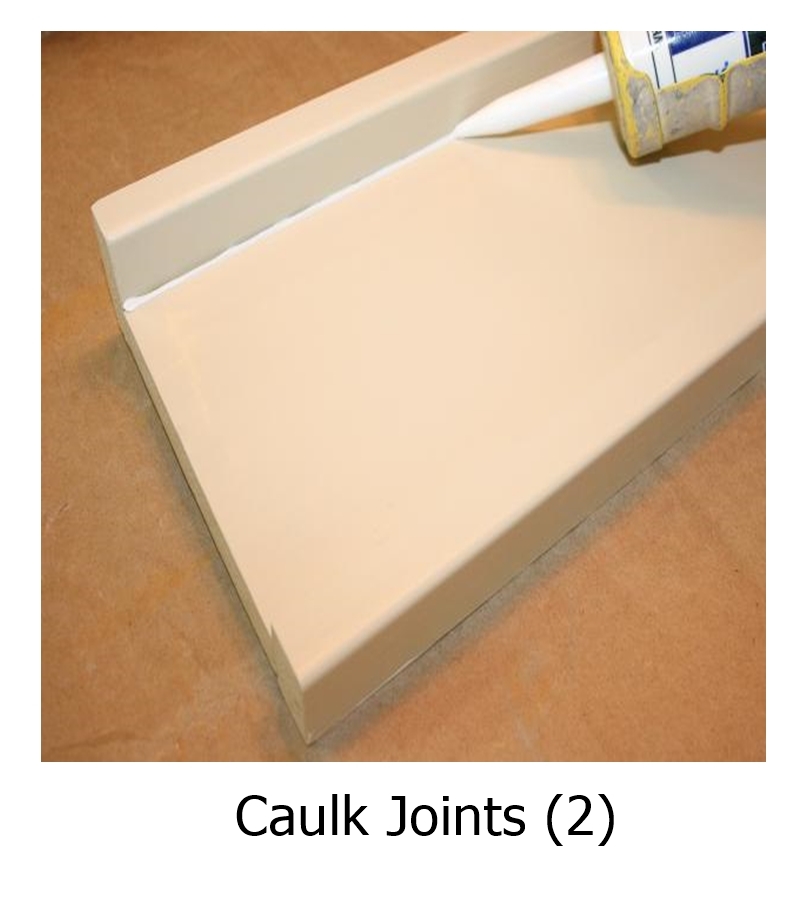
Caulk Joints
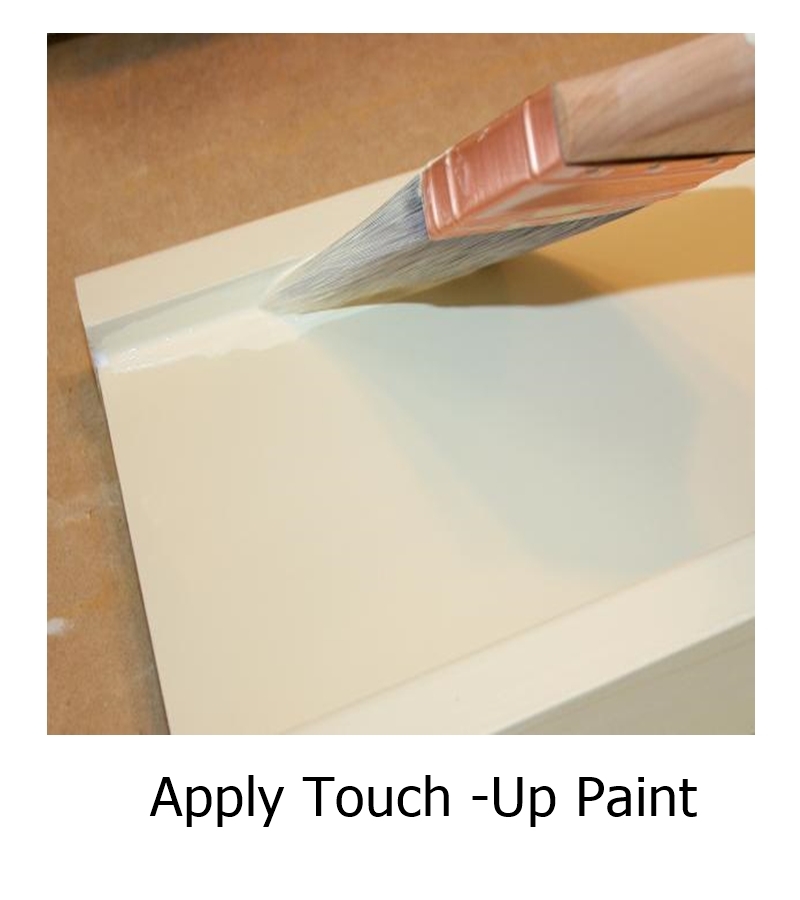
Apply Touch -Up Paint
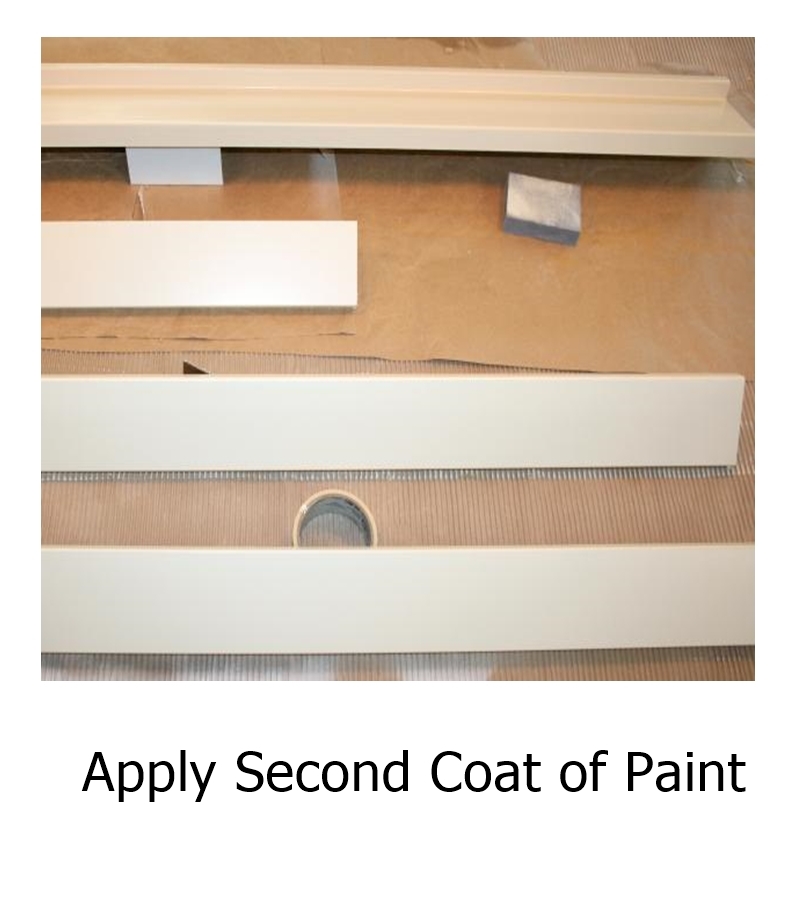
Apply Second Coat of Paint
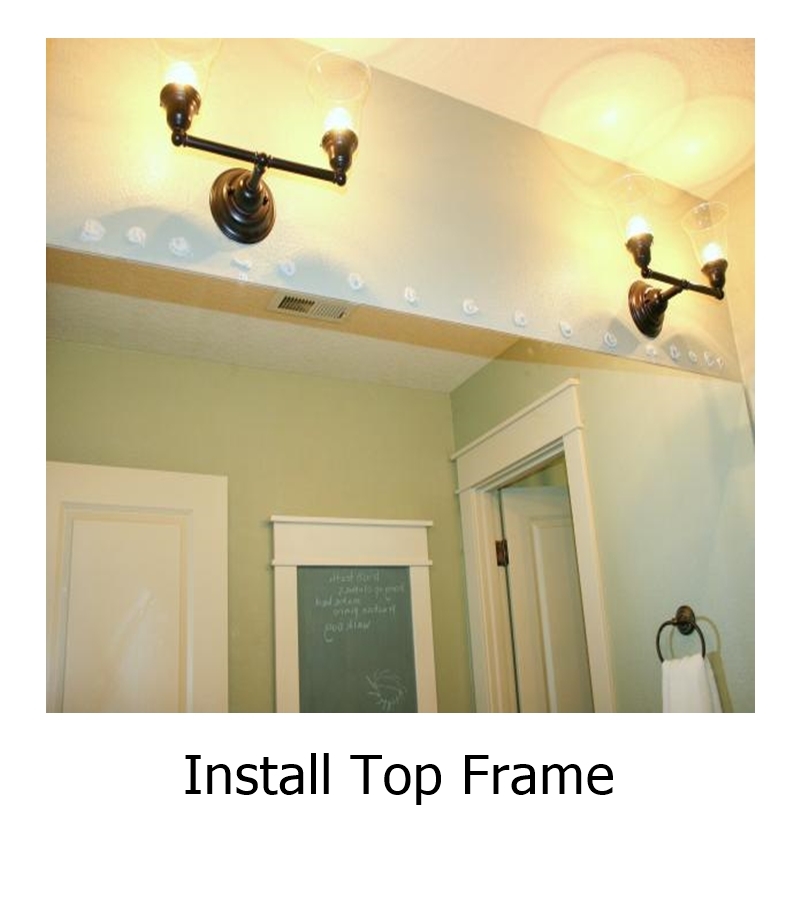
Install Top Frame
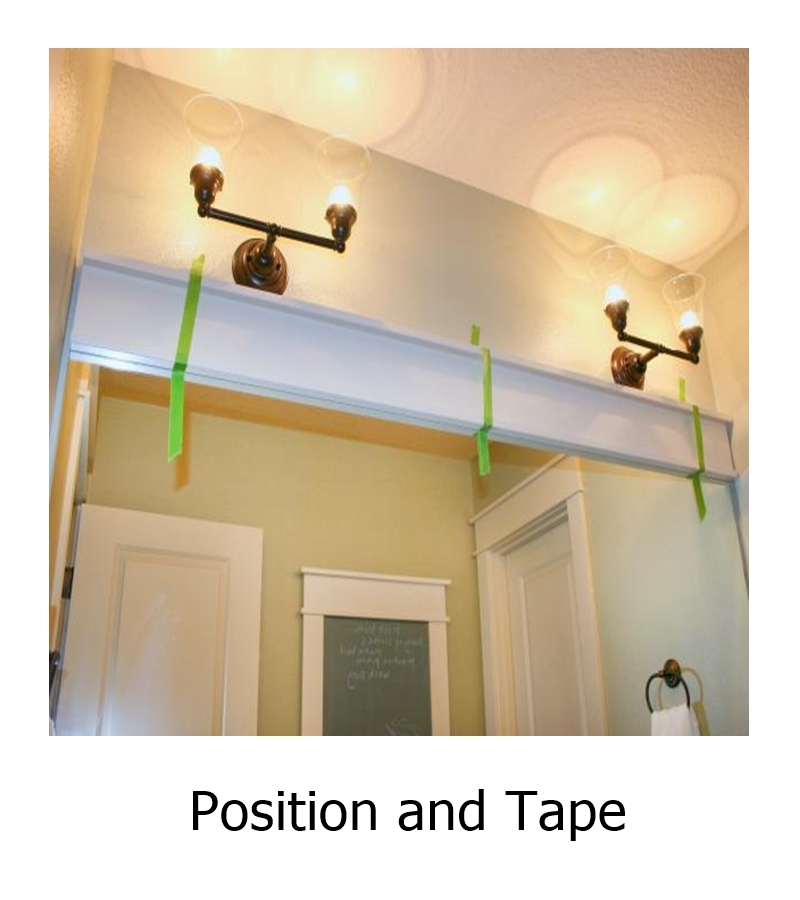
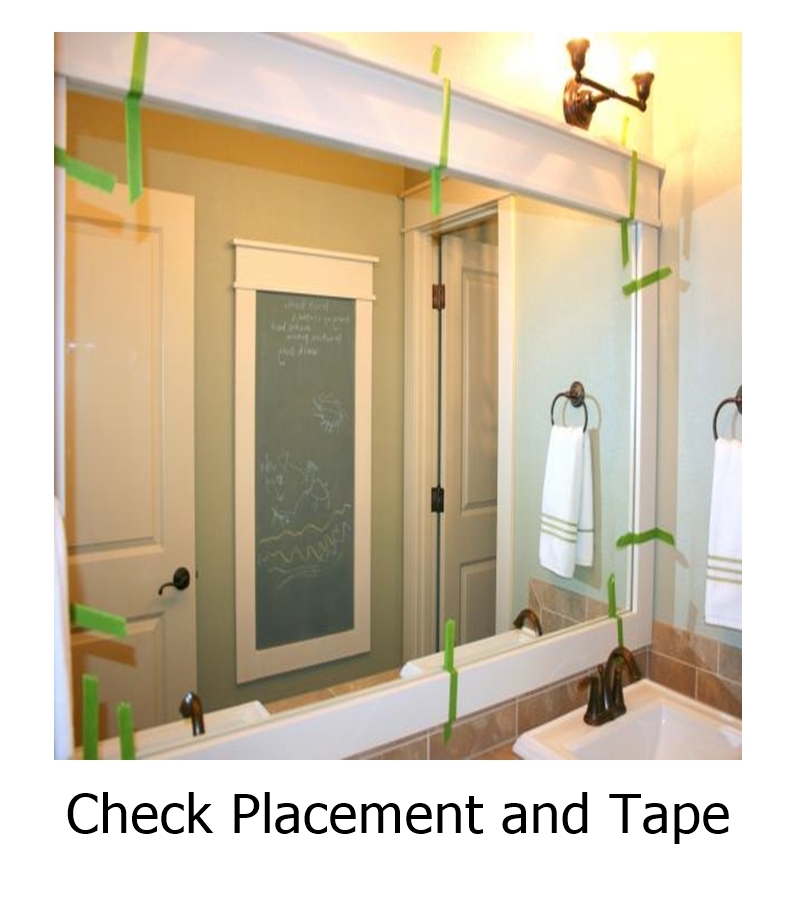
Position and Tape
Repeat Steps

Check Placement and Tape
Caulk Joints (2)
Apply Touch Up Paint (2)

