

Summer and spring are on their way to us here in America, and with this change in seasons comes the change of weather. Depending on where you reside, this can mean snow melting in mass quantities, or an increased amount of rainfall. This can cause heavy problems depending on how your surface drainage system is.
To ensure your driveway can properly drain any amount of precipitation in any form, it is important to have a drainage system. The best way to do this can be with a stainless steel channel drain! The installation of this system doesn’t take too long, nor will it be difficult given the experience you already possess.
Here are eight easy steps that will help you with the process of installing your new driveway channel drain to aid in drainage.
Find the Correct Drain to Purchase
All trench drains are built differently, using different materials. This means each one of them has an ideal use and an ideal amount of weight or pressure it can stand up to without faltering or getting damaged. Some are rated for vehicle traffic while others may not be.
Ensure the location you are installing this drain in has the correct drain for the correct use. If you plan on putting this drain in your driveway, and at a spot where your car is constantly parked or goes over, you’d want this drain to be rated for vehicle traffic. This is to ensure you have the correct drain, and you don’t waste money by having a drain break.
Having the Proper Drain Pipe
Some locations may gather high quantities of water while draining. Due to this, you would want to have a larger-sized drain pipe that would be able to deal with mass amounts of water. The more water you deal with, the stronger and larger you would want the pipe to be.
To avoid a busted pipe, and having to invest more money, ensure the location you are installing this drain is a high volume location or not. If it is, get a decently sized pipe, if it isn’t, you can find a common pipe that can handle the water flow.
Placing the Drainage Channel Correctly
The location of the channel drain is very important when placing it. You would want to place it where the water bunches up the most, or where the highest concentration of water would be found. This placement allows you to drain the water as quickly and effectively as possible.
It is also a great choice for you to place the channel drain just slightly lower than the concrete it is connected to, usually with a slight slope to bring the water into the drain. This slope uses gravity to help it and assist it to bring the water into the drain faster, getting rid of the excess water quicker.
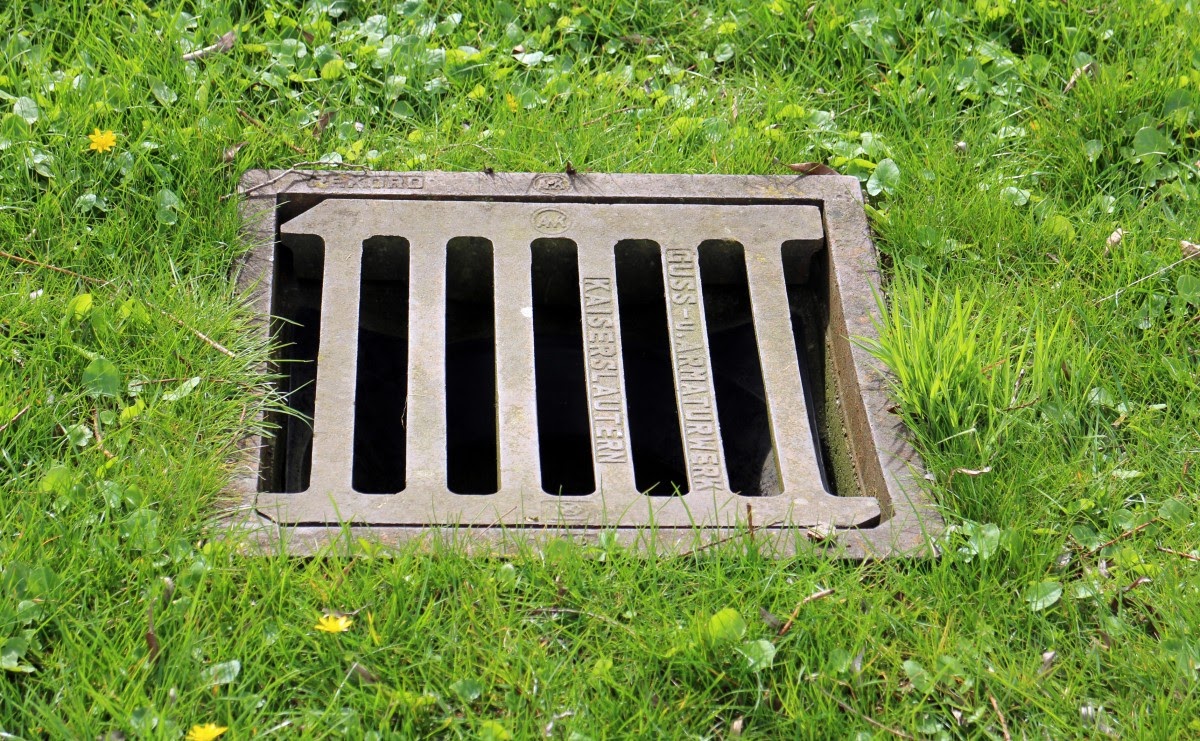
Protecting the Drainage Channel
Oftentimes, these channel drains are placed on concrete or gravel that gives them some support and protection from the elements. Gravel would be perfect for foot movement, or an area that doesn’t receive much foot traffic in general. However, if you are placing this drain at a location where there will be vehicle traffic or parking, you would want to have concrete around it for added support.
The concrete gives addition to added support along with being able to withstand the force of a vehicle a lot better than loose gravel. Keep this in mind when making your channel drain and decide where to put which drain.
Digging the Trench for the Drain
Finally, once you’ve decided where you want to put the drain and what drain you’ll have for each area comes the part of getting down and dirty with… well, dirt! Now you would want to dig a trench that will hold your drain and be surrounded by gravel or concrete. Depending on how much water your drain will collect will determine how far down you need to dig.
All other details would be specified to your drain’s specifications. This would include the width, length, and much else. Of course, you can install multiple drains in a line, making it longer, but this decision is ultimately up to you and your wants.
Making Multiple Trenches for Separate Drains
It may be more optimal to install multiple different drains in different trenches in an area that has a high volume of flooding on your driveway. An important thing to note about this is that each channel drain should have its own pipe to handle the flow of water drainage.
These pipes can lead to the same exit point, where it would mass and build up, but the drains themselves need their pipes otherwise they would overflow and not solve the problem in the first place.
Check Legal Regulations on Drainage Systems
Each city or town deals with rainwater differently, with its own rules and regulations on the process of collection or draining stormwater. Due to this, you should always check your local regulations before making any changes to your current drain system, or before installing a new one.
In most cases, you’d want the water to stay on your property as long as possible but be drained off the surface. This can be done by draining the water from the concrete driveway to your front yard, thus watering the grass and plants you may have in the yard.
Protect Locations from Drainage Erosion
Just like how the Grand Canyon was formed due to erosion, erosion can cause damage to many other structures that are man-made as well. Because of this, you would need to be careful where you place the drainage pipes to disperse the water from your drains.
One thing you could do is place large stones or other materials that can slow the flow of water by absorbing some of the shock and energy from the drain. Another important thing to remember is to never drain your water to a place where it normally would not be drained to. This can cause an improper drainage system, causing more damage than good.
The Simplistic Nature of Channel Drains
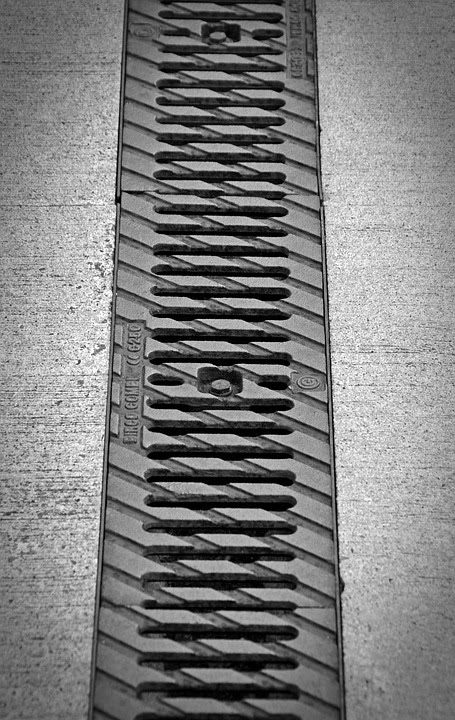
People have been using channel drains for many years, it is not a new system nor is it hard to introduce to your driveway as an assistant to draining rainwater. Channel drains range from very basic and easy to construct, to rather intricate with many different parts, but don’t let this scare you. The most basic of drainage systems still gets the job done flawlessly, without erosion damage to your driveway.


